Making Homemade Pizza That Surpasses Takeout Quality
Your homemade pizza can rival, if not surpass, anything you pick up.
Pizza is a universally loved option for both hectic weeknights and enjoyable weekend gatherings. However, you needn’t depend on restaurants or takeout for exceptional pizza. Keep reading for guidance on crafting your own delicious pizza at home. We’ll cover everything from making pizza crust to topping your pizza, determining the ideal baking temperature, and gauging the optimal baking duration. Additionally, we’ll share some of our favorite homemade pizza recipes for you to try out.
How to Make Homemade Pizza
Let’s break down how to make the best pizza, piece by piece:
Pizza Crust 101
We’ll start with the base, the crispy crust that holds it all together. With the crust, you can go a few ways: You can make homemade pizza with store-bought dough; use pre-baked crusts (such as Boboli) or even English muffins and pita bread for personal pizzas; or make your own pizza dough.
Get recipes for pizza dough and crust.
Here’s how Chef John makes simple no-knead pizza dough. (He also makes a pretty mean Cauliflower Pizza Crust.) Watch the video to see exactly how the pizza dough should look before setting it aside to rise. You’ll also see Chef John’s patented “rotate, stretch, and tuck” move for forming the dough.
Pizza Sauce Tips
Now for the sauce. There are loads of delicious pre-made marinara sauces for pizza sauce. We have oodles of homemade pizza sauce recipes, too. Beyond red pizza sauces, don’t forget pesto sauces, white sauces, or even a simple olive oil and garlic sauce. They will expand your pizza potential by almost infinite proportions.
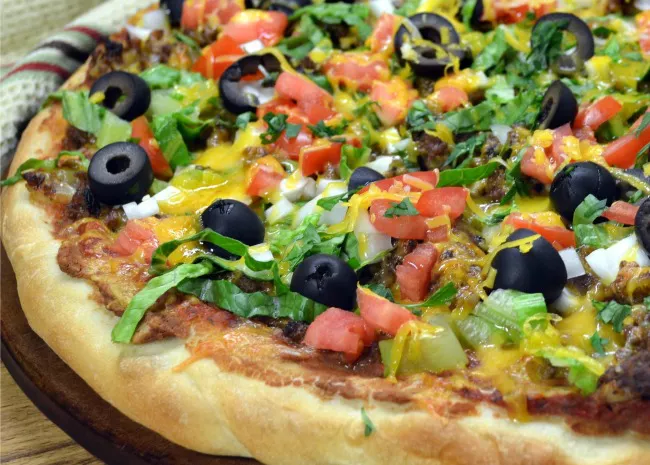
All About Pizza Toppings
There’s almost no limit to the toppings you can pile on a pizza. Tomato sauce and pepperoni you know. But apples and walnuts? For sure. Fresh figs and prosciutto? Of course! Sweet corn and peas? Well, in Europe and Japan, corn and peas are common pizza toppings. Bottom line, pizza is open to an infinite amount of creativity where toppings are concerned.
Once you have your toppings lined up, think about the order you’ll lay them down on the crust. It matters!
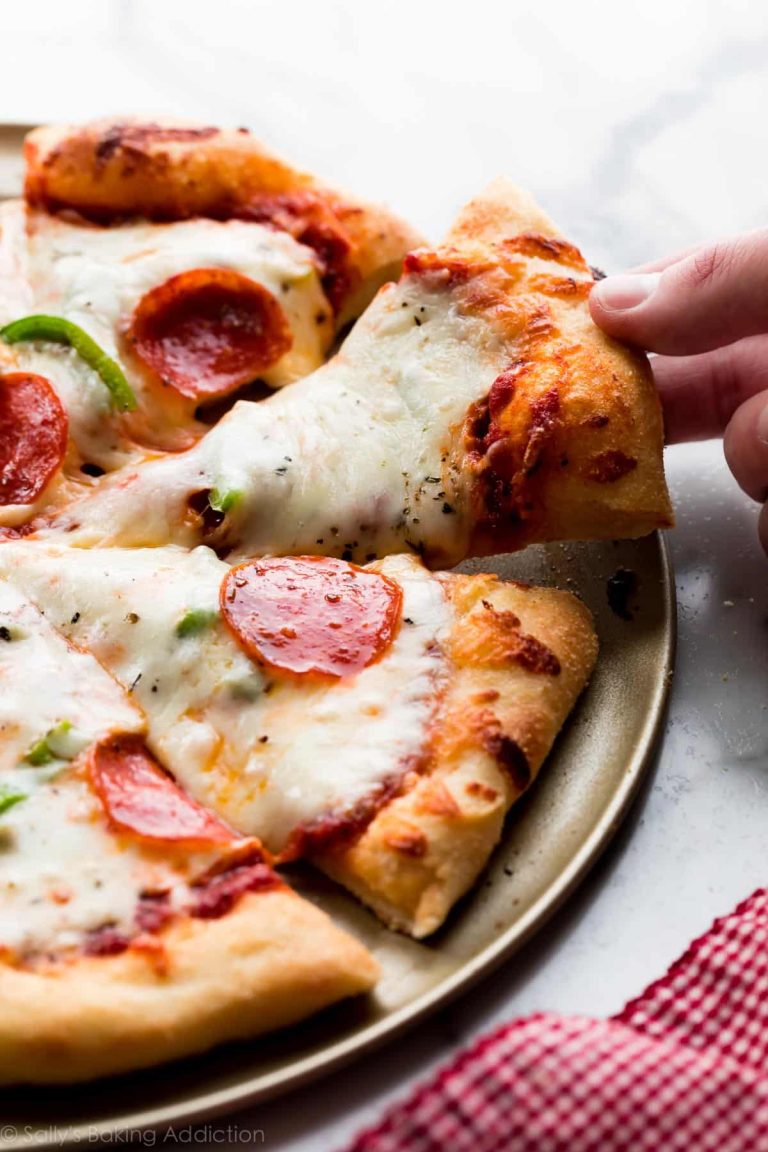
Layering the Pizza
Layer the ingredients one way, and you have pizza perfection. Arrange the same ingredients in a different order, and it’s curtains. For example, if you put the cheese down first, then layer tomatoes and basil on top, the basil burns and shrivels and the cheese doesn’t brown. Possible pizza fail.
Of course, you can put tomato slices on top of the cheese. Tomatoes have a high moisture content, so they won’t caramelize; instead, they’ll dehydrate slightly for a more concentrated tomato flavor.
Choosing Cheeses
Mozzarella, Fontina, and Parmesan cheeses all work great. These cheeses are all very low in moisture, so they’ll brown fairly quickly. Fresh mozzarella has a lot of water content and could make surrounding crust and toppings soggy.
The 9 Best Pizza Stones and Steels of 2021, Tested by Allrecipes
How to Cook Pizza on a Stone
1. Heat the oven.
Generally, the hotter the oven, the better the pizza will be. The best oven temperature for pizza is between 450 and 500 degrees F (250 to 260 degrees C). Pizza ovens cook at temperatures between 800 and 900 degrees F. You can’t get that hot in your home oven, but the higher you can go, the better.
Place a pizza stone on a lower oven rack. Preheat the oven between 450 and 500 degrees F (250 to 260 degrees C) — the stone needs heat up while the oven heats. Large, thick-crusted pizzas might need an oven temperature closer to 400 degrees F (200 degrees C) so the crust can cook completely before the toppings burn.
2. Form the pizza dough and place it on a peel dusted with a little flour or cornmeal.
If you like, lightly brush the crust with olive oil. This helps create a golden brown, crispy crust rather than a dry, dusty outer crust. See how to make and form your pizza dough.
Okay, the oven is hot, and the pizza’s all topped and ready to roll. You need to grab your pizza peel ($22; Amazon), the large shovel-like tool that easily moves pizza from counter to stone without catastrophe. Slide your pizza onto the peel. It’s time for the oven.
3. Slip the pizza onto the hot pizza stone.
Place the tip of the peel on the edge of the stone at the back of the oven. With one swift motion, jerk the peel back out from under the pizza. If the pizza slides freely on the peel, it should land perfectly in the middle of the pizza stone. If the pizza sticks to the peel, your toppings will slide off the pizza onto the stone, and the kids will hear you say those words you’re not really supposed to use in front of them.
Close the oven door, and let the pizza bake.
4. After 5 minutes of baking, check the pizza.
If some spots are browning faster than others, turn the pizza; slip the peel underneath it like a giant spatula. Rotate the pizza on the peel and return it to the baking stone using the same swift motion described above.
If you like, remove the pizza from the oven halfway during baking to brush more oil on the crust. This added oil will help darken the crust and make it even tastier. For a little garlic flavor, infuse the oil with minced garlic.
5. The pizza is done when the cheese is melted to a medium-to-dark brown.
Color means flavor. Carefully remove the pizza with the peel and let it cool slightly. If you want, top it with additional fresh toppings. Slice with a pizza wheel ($15; Amazon) or chef’s knife, and serve to your adoring crowd.